Content Menu
● Understanding Micro Bikinis
● Materials Needed
● Choosing Your Pattern
>> Creating Your Own Pattern
● Cutting the Fabric
● Sewing Your Micro Bikini
>> Sewing the Bikini Top
>> Sewing the Bikini Bottom
● Styling Your Micro Bikini
>> Mixing and Matching Styles
● Caring for Your Micro Bikini
● Choosing Suitable Fabrics
● Common Mistakes to Avoid
● FAQs about Micro Bikinis
>> 1. What is a micro bikini?
>> 2. Are micro bikinis suitable for all body types?
>> 3. How do I choose the right size?
>> 4. Can I mix and match different styles?
>> 5. What are some pros and cons of wearing a micro bikini?
>> 6. How do I ensure my micro bikini stays in place while swimming?
>> 7. Can I make adjustments after sewing?
>> 8. Is it possible to add padding or support?
>> 9. What should I consider when choosing colors/patterns?
>> 10. How do I store my micro bikini properly?
● Conclusion
● Citations:
Creating a micro bikini can be an exciting and fulfilling project, especially for those who enjoy sewing and want to customize their swimwear. This guide will walk you through the process of making your own micro bikini, including selecting materials, cutting patterns, sewing techniques, and styling tips. By the end of this article, you will have all the knowledge needed to craft a stylish and unique micro bikini that fits your personal style.

Understanding Micro Bikinis
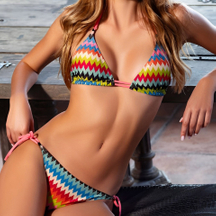
Micro bikinis are characterized by their minimal fabric coverage, designed to accentuate the body while providing a daring look. They typically consist of two main components: the bikini top and the bikini bottom.
- Bikini Top: Usually features very small triangles of fabric that cover just enough to maintain modesty.
- Bikini Bottom: Can vary from tiny thongs to barely-there styles, offering minimal coverage.
Micro bikinis are popular for sunbathing and are often chosen for their ability to create minimal tan lines. They come in various styles, including:
- Triangle Tops: Simple and classic, these tops consist of two triangular pieces of fabric connected by strings.
- Halter Neck Styles: These provide additional support by tying around the neck.
- Bandeau Tops: Strapless options that offer a different aesthetic while still being minimal.
Materials Needed
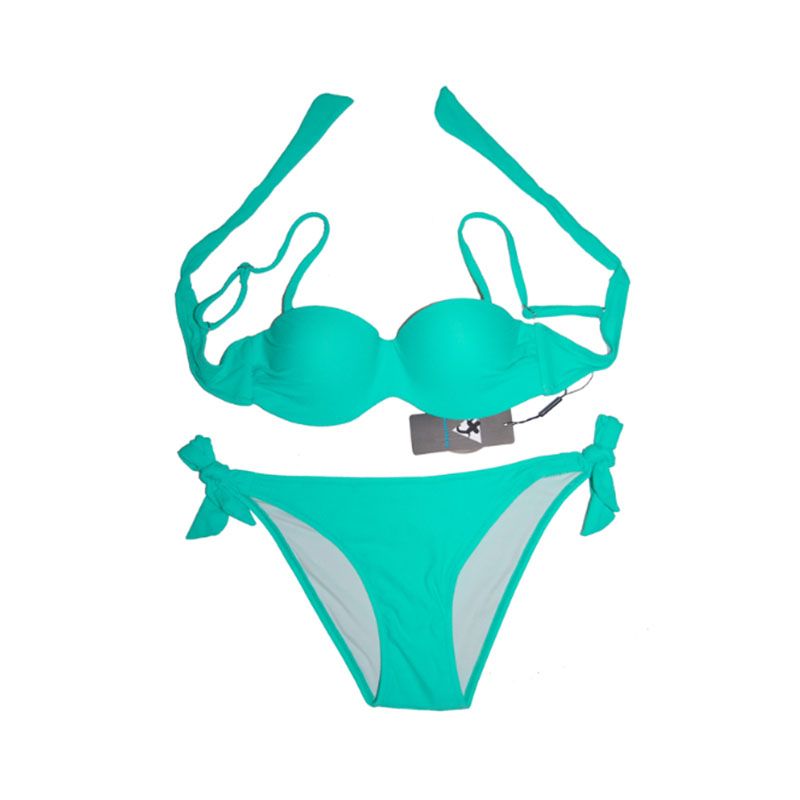
Before you start sewing, gather the following materials:
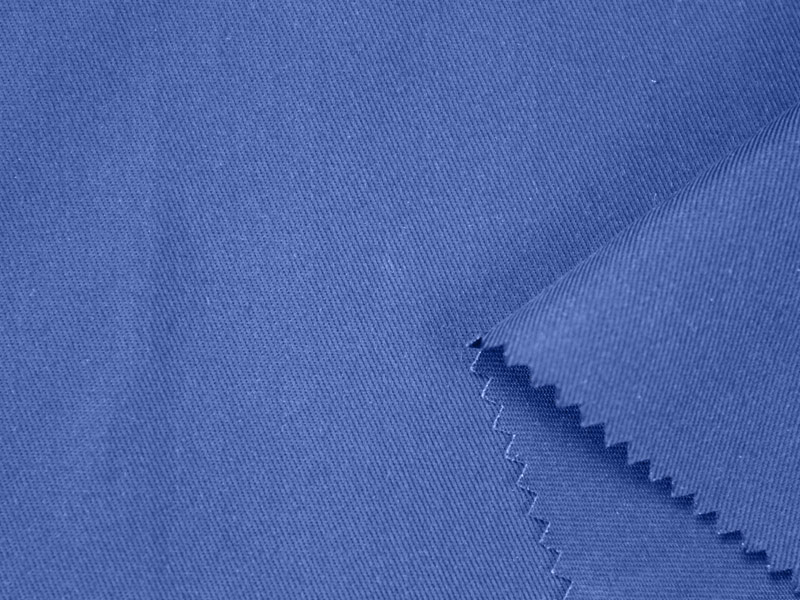
- Fabric: Choose stretchy swimwear fabric like spandex or lycra. You can select solid colors or fun patterns that reflect your personality. Consider using fabrics with UV protection for added sun safety.
- Swimsuit Lining: This is essential for comfort and coverage. Look for lightweight lining materials that complement your chosen fabric.
- Elastic Bands: These will help secure the bikini in place. Choose soft elastic to avoid irritation on the skin.
- Sewing Machine: A standard sewing machine will work, but a serger is recommended for finishing edges.
- Sewing Supplies: Scissors, pins, measuring tape, and a fabric marker. Additionally, consider having a seam ripper handy for any adjustments.
Choosing Your Pattern
When making a micro bikini, you can either create your own pattern or purchase one online. Many websites offer downloadable patterns specifically designed for micro bikinis. Here are some popular options:
1. Teardrop Pattern: Perfect for creating tiny bikini tops.
2. String Bikini Pattern: Ideal for adjustable ties on both top and bottom.
3. Custom Patterns: You can also draft your own based on desired measurements.
Creating Your Own Pattern
If you choose to create your own pattern, here's how:
1. Take Measurements: Measure your bust, waist, hips, and desired coverage areas.
2. Drafting the Pattern: Use paper to sketch out your design based on your measurements. For a triangle top, draw two triangles with dimensions that suit your comfort level.
3. Add Seam Allowances: Ensure to include extra fabric around the edges for seams (typically 1/4 inch).
4. Cut Out Your Pattern Pieces: Once satisfied with your design, cut out the pattern pieces from paper.
Cutting the Fabric
Once you have your pattern:
1. Lay Out Your Fabric: Place the fabric on a flat surface and ensure it is wrinkle-free.
2. Pin the Pattern: Pin the pattern pieces onto the fabric securely to prevent movement while cutting.
3. Cut Carefully: Use sharp scissors to cut around the pattern pieces, leaving about 1/4 inch seam allowance.
Sewing Your Micro Bikini
Now that you have your fabric pieces cut out, it's time to sew them together.
Sewing the Bikini Top
1. Attach Lining: Place the outer fabric right sides together with the lining fabric and pin them in place.
2. Sew Edges: Using a zigzag stitch or a serger, sew along the edges, leaving the bottom open for turning.
3. Turn Right Side Out: After sewing, turn the top right side out and press with an iron.
4. Insert Elastic: Cut elastic strips to fit along the edges of the top for support. Sew them in place using a zigzag stitch.
5. Finish Edges: Fold in raw edges at the bottom opening and sew closed.
6. Add Straps or Ties: Depending on your design choice, attach straps or ties made from matching or contrasting fabric for added flair.
Sewing the Bikini Bottom
1. Repeat Steps from Top: Follow similar steps as above for sewing the bikini bottom.
2. Adjust Fit: Make sure to try on your bikini as you go to adjust fit as necessary.
3. Add Ties or Straps: Depending on your design choice, attach strings or straps to tie around your hips or neck.
4. Create a Cheeky Cut (Optional): For those desiring an even more daring look, adjust the back pattern piece to create cheeky coverage by curving it upwards slightly at the center back seam.
How To Sew Swimwear | DIY String Bikini Set | Easy | Cheeky/Thong Style | Sewing Tutorial + Pattern
Styling Your Micro Bikini
Once your micro bikini is complete, consider how you want to style it:
- Cover-Ups: Use sheer fabrics or sarongs for a stylish beach look.
- Accessories: Statement sunglasses or wide-brimmed hats can elevate your beach outfit.
- Footwear: Flip-flops or stylish sandals complement your beach-ready look perfectly.
Mixing and Matching Styles
One of the fun aspects of wearing micro bikinis is mixing different styles:
- Pair a solid color top with patterned bottoms for an eye-catching contrast.
- Experiment with different textures like crochet tops paired with smooth bottoms for visual interest.
Caring for Your Micro Bikini
To keep your micro bikini looking fresh:
- Hand wash with mild soap after each use.
- Avoid wringing out; instead, lay flat to dry in shade to prevent fading from sunlight.
- Store in a cool dry place away from direct sunlight when not in use.
Choosing Suitable Fabrics
The type of fabric you choose can significantly impact both comfort and appearance:
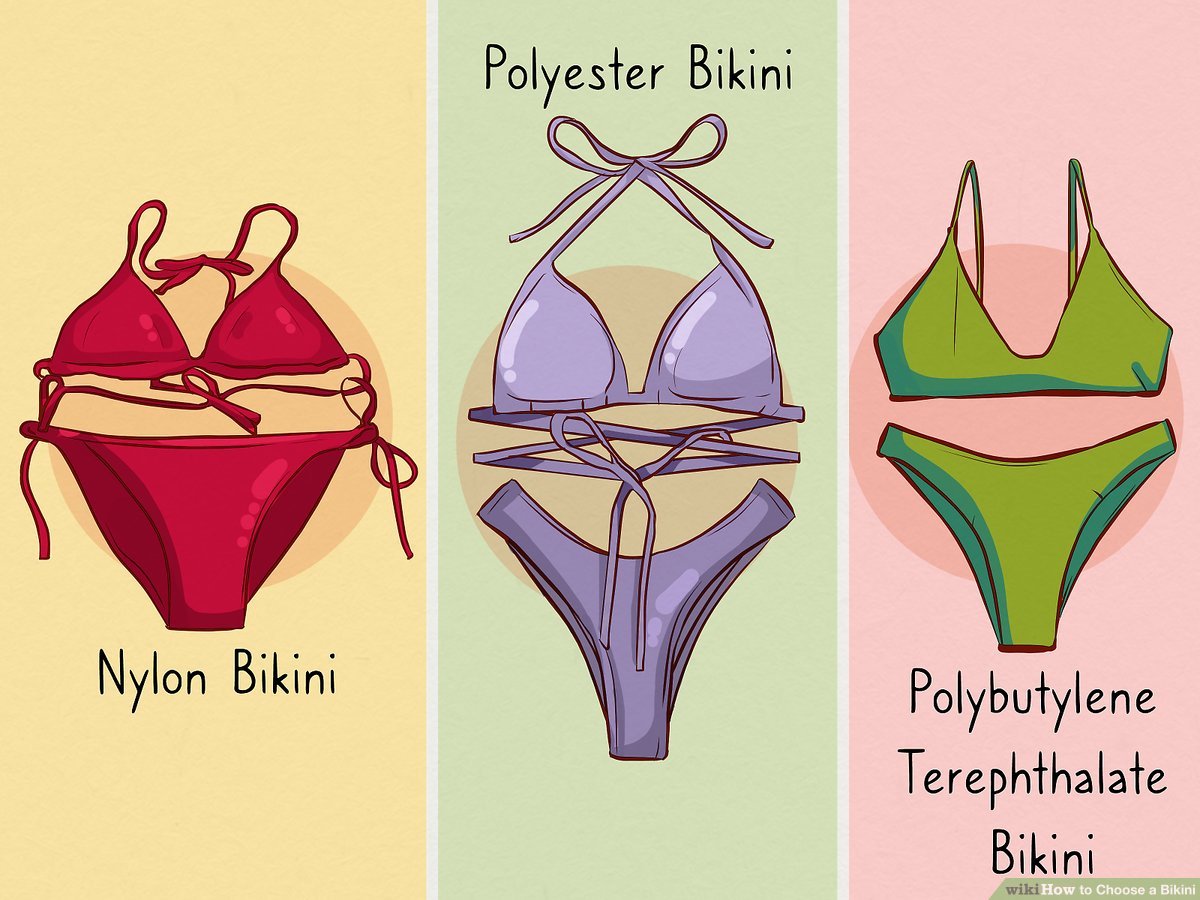
- Nylon/Spandex Blends: These are common choices due to their stretchability and durability against chlorine and saltwater.
- Polyester Fabrics: Often more resistant to fading from UV rays compared to nylon blends but may not have as much stretch.
- Eco-Friendly Options: Consider sustainable materials like recycled polyester if you're environmentally conscious about swimwear production.
Common Mistakes to Avoid
When making a micro bikini, here are some common pitfalls to avoid:
- Not pre-washing fabric can lead to shrinkage after sewing.
- Ignoring seam allowances may result in ill-fitting garments.
- Failing to test fit during construction can lead to discomfort when wearing it later on.
FAQs about Micro Bikinis
1. What is a micro bikini?
- A micro bikini is a type of swimwear that features minimal coverage with tiny fabric pieces connected by strings.
2. Are micro bikinis suitable for all body types?
- Yes! Anyone can wear a micro bikini if they feel confident and comfortable in it.
3. How do I choose the right size?
- Measure your bust, waist, and hips carefully and refer to sizing charts available from pattern suppliers.
4. Can I mix and match different styles?
- Absolutely! Mixing different tops and bottoms can create unique looks tailored to your style preferences.
5. What are some pros and cons of wearing a micro bikini?
- Pros include minimal tan lines and increased confidence; cons may include feeling exposed or attracting unwanted attention.
6. How do I ensure my micro bikini stays in place while swimming?
- Choose high-quality elastic bands and ensure proper fit during construction; testing it while moving can help assess security.
7. Can I make adjustments after sewing?
- Yes! If adjustments are needed after trying on your bikini, use a seam ripper carefully before resewing any areas that need alteration.
8. Is it possible to add padding or support?
- Yes! You can sew removable padding into triangle tops or incorporate underwire into designs if additional support is desired.
9. What should I consider when choosing colors/patterns?
- Think about skin tone compatibility; bold colors often stand out against tanned skin while darker shades may provide more slimming effects.
10. How do I store my micro bikini properly?
- Store it flat in a drawer away from direct sunlight; avoid folding tightly which could cause creases over time.
Conclusion
Making your own micro bikini allows you to express your unique style while enjoying custom-fitted swimwear perfect for beach days or pool parties. With careful selection of materials and patterns, along with basic sewing skills, you can create a stunning piece that showcases your body confidently while feeling comfortable in it!
Diy: How to Sew A Micro Bikini
DIY: How to Sew a Tiny Micro Bikini
DIY sewing: Independence Day Tiny Bikini
Citations:
[1] https://spandexsimplified.com/how-to-make-a-string-bikini-top/
[2] https://www.youtube.com/watch?v=58jxkqp_AyM
[3] https://www.youtube.com/watch?v=pFxvl9aVv9o
[4] https://bikinidesignclub.com
[5] https://depositphotos.com/photos/micro-bikini.html
[6] https://www.freepik.com/free-photos-vectors/microbikini/3
[7] https://www.youtube.com/watch?v=4_TeqOgbxJA
[8] https://www.dhgate.com/blog/the-pros-and-cons-of-wearing-womens-micro-bikinis-on-the-beach-c/
[9] https://www.khy.com/blogs/trendy-womens-clothing/micro-bikini-styling-tips-wear-with-confidence
[10] https://raydarmagazine.com/what-is-a-micro-bikini/
[11] https://microbikini.store/blogs/news/bikinis-faq


